How To Pierce Your Nails
Featuring our Pierced Up Nailz
Did you know our pierced sets are all hand pierced in Austin, TX? That's right. Our Pierced Up, Cherry Bomb, Speedway & Jail nails are all hand pierced by our two woman team in the Lone Star state.

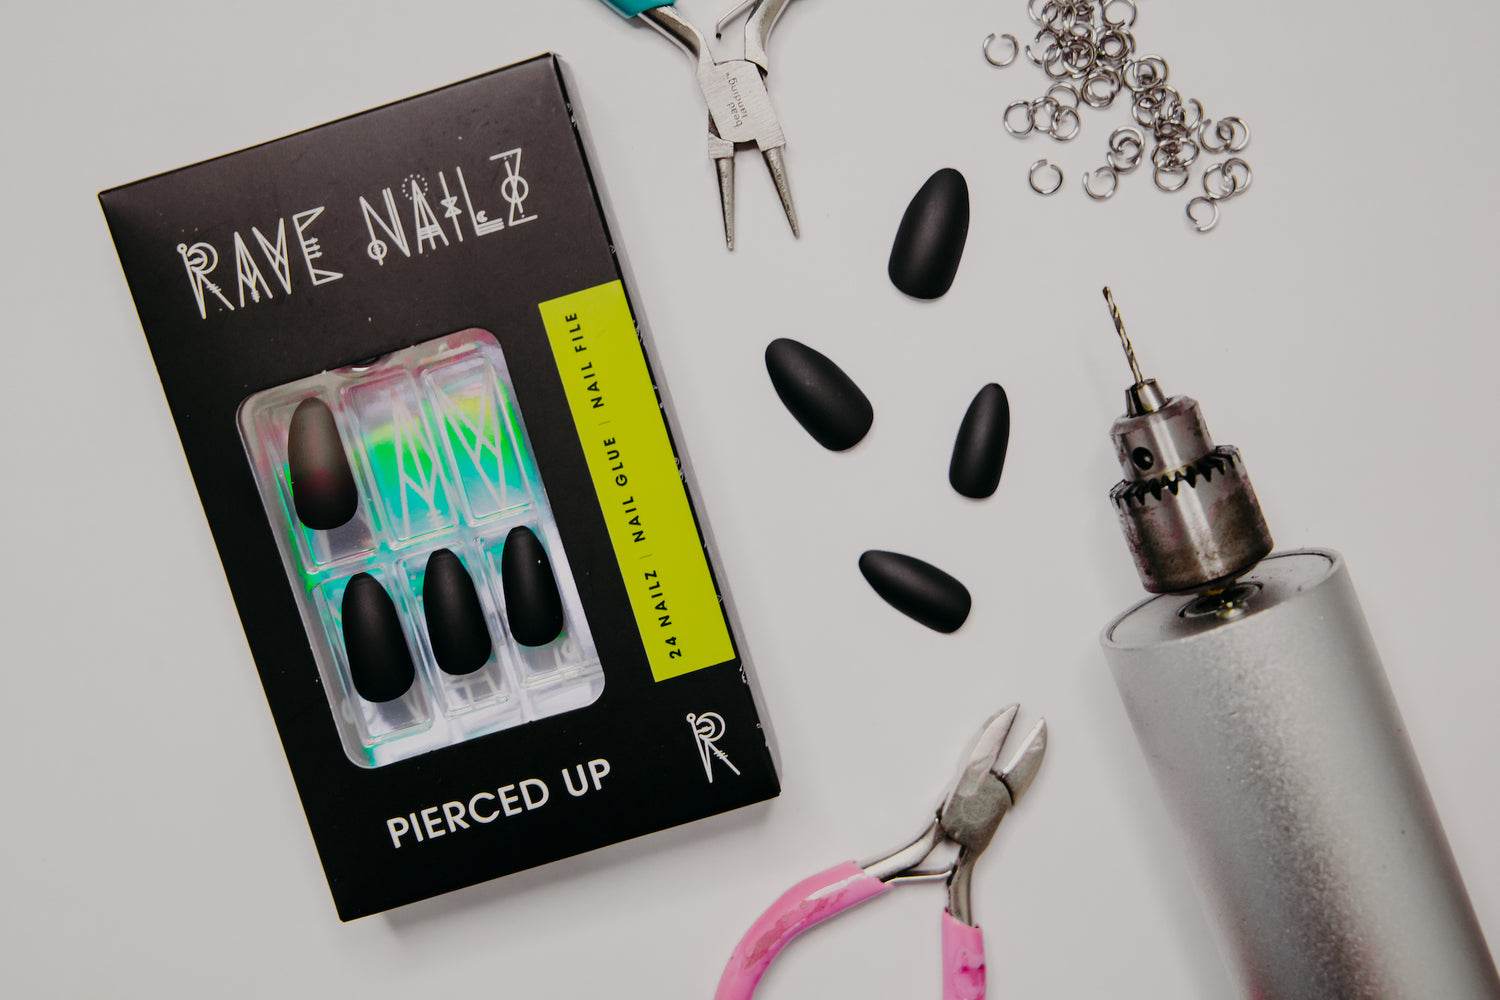
Ever want to DIY pierce your own nails? We have a step-by-step tutorial on how to pierce your nails! With instructions and tips featuring our Pierced Up Nailz, you can add some flair to our already reusable press ons in the comfort of your home! We added the links where you can get the tools for yourself below. No time to do that? That's okay - we have you covered in our already pierced sets.
Let's get the party started!

Tools:
- Your favorite Rave Nailz
- Micro handheld drill
- Jump rings or chain of your choice
- Pliers
Step 1: Choose Your Nails

Choose which nails you would like to pierce. In our Pierced Up set, featuring our stiletto nails - we pierce 4 in each set. Each set includes a nail glue, nail file, & 24 reusable press on nails - including the 4 accent nails.

Turning your micro drill on, it's time to drill! We find it's easier to place the nail front side facing down & on the right side, we drill 2 small holes next to each other. You do this by slowly putting the drill where you would want the hole and with a little bit of pressure, push forward & drill the hole. Be careful not to pierce too close to the edge for it will tear. This may take a few tries to get used to how much pressure to apply for it drills quickly! Take your time! We find this process to be very therapeutic.
Tip: we recommend placing the nail on top of a cutting board you don't mind poking holes in to steady the nail. Also, make sure the drill bit is a little bigger than your jump rings so you can easily slide them through in the next step.

Step 3: Jump Rings

After your holes are drilled, you will it's jump ring time! Feed the jump ring through the hole.
Tip: get pre-opened jump rings to save time & your fingers

Once you've looped through the jump ring, use your pliers to close it. We use small craft needle nose pliers. With one in each hand, grab onto the ring and slowly push the edges of the rings closed. Be careful as sometimes the pliers can slip and you can cause a mark on the nail.

Tip: Find the sweet spot where to drill the for the hole - too close to the edge, you can risk the nail edge breaking and too far will make the rings difficult to close.
And Voila!

Repeat this process until you're done!
We hope you learned a lot in this little DIY! Don't forget to pick up a pair of your favorite Rave Nailz on the way out!


Leave a comment
This site is protected by hCaptcha and the hCaptcha Privacy Policy and Terms of Service apply.